Godex Printer Install & Setup
The GODEX printers are designed to be “plug and play” meaning it will install any drivers needed when you plug it into the computer via USB.
Once the printer is plugged into the computer open printers & scanners in system settings to see if your printer is showing.
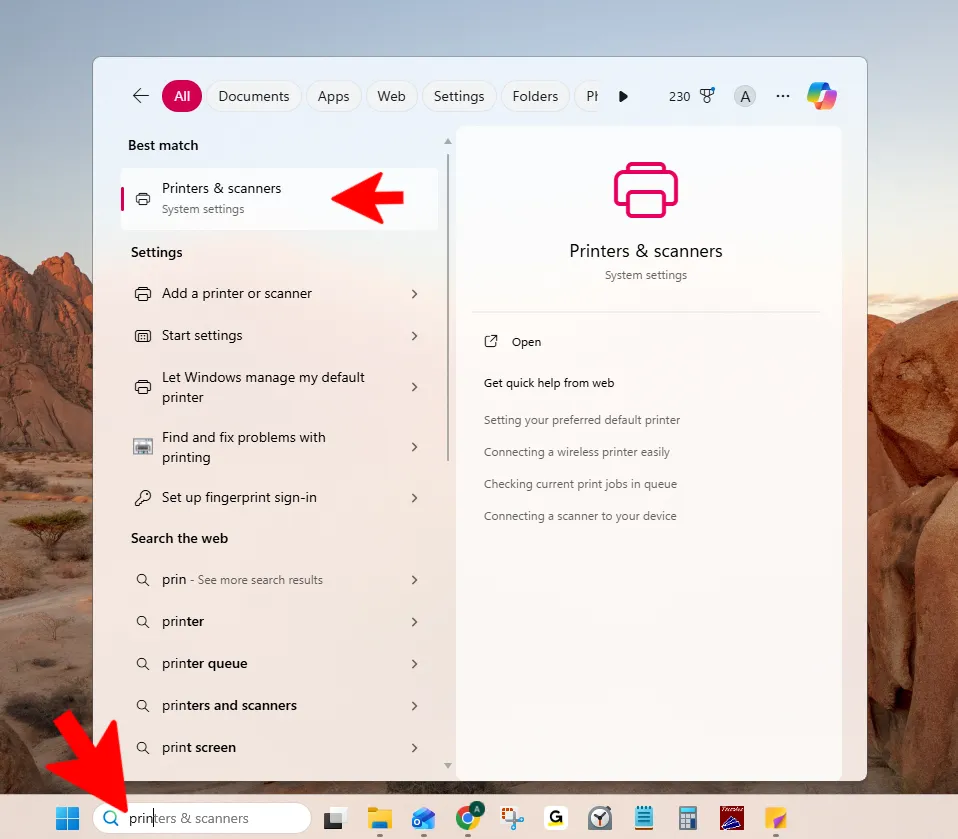
Note: you can use the search bar in your task bar to open printer & scanners
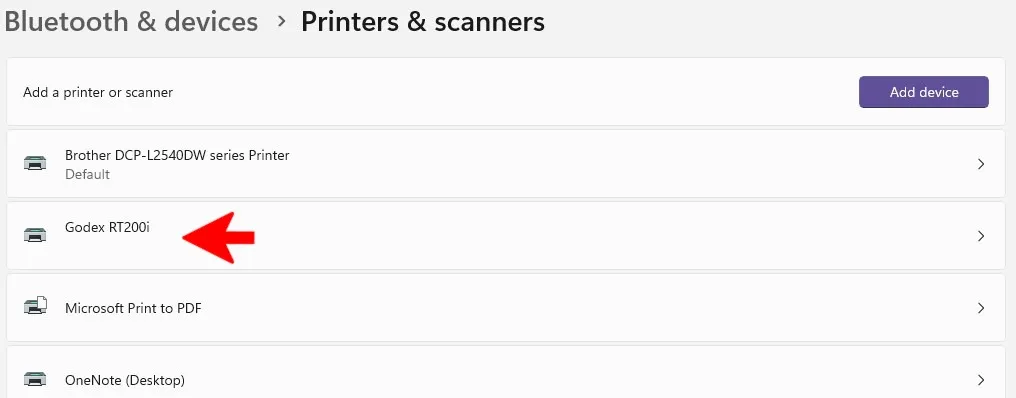
If your printer is showing you are ready to set up the printer settings!
Printer Not Showing on Computer
If your printer is not showing then you will need to manually install the drivers. Click on this link to download: https://www.bartendersoftware.com/resources/printer-drivers/godex/godex-rt200i
Note: when you get to the install driver options choose other and then choose the model number of the printer you have
Printer Settings
Once the printer is installed you will need to make the following changes in the printer settings. This requires Administrator logon to the PC.
In Printing Settings go to "Preferences" and
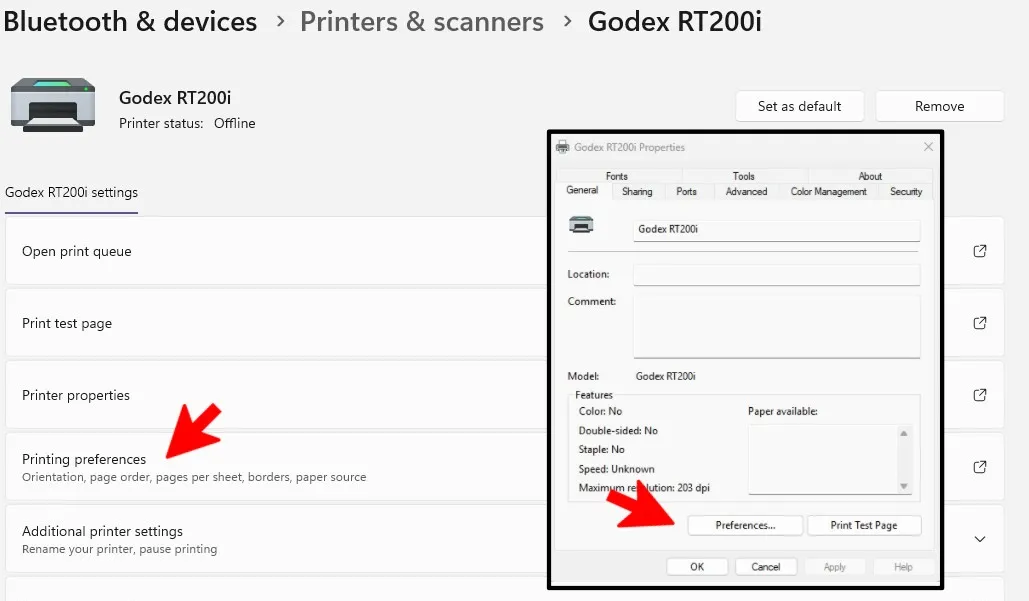
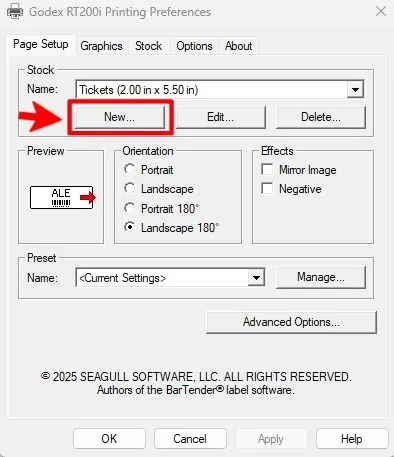
Click “New” stock type with the following specifics
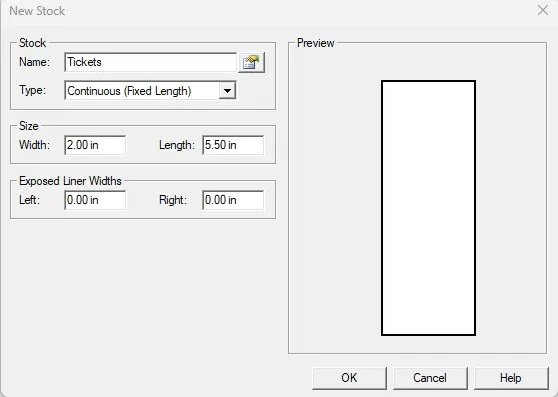
Click on the “Stock” tab and update to the specifics below

Click on the “Page Setup” Tab. Make sure the Stock Name selected is “Tickets (2.00 in x 5.50 in)”. Then under orientation click “Landscape” and click “Ok”

If you are printing from TixPro8 go to “Graphics” tab and select none
You should be back in the properties window, click the “Advanced” Tab and confirm the Page Setup, Graphics, and Stock tabs match above. If not, select the same options. Press ok
Ticket Loading
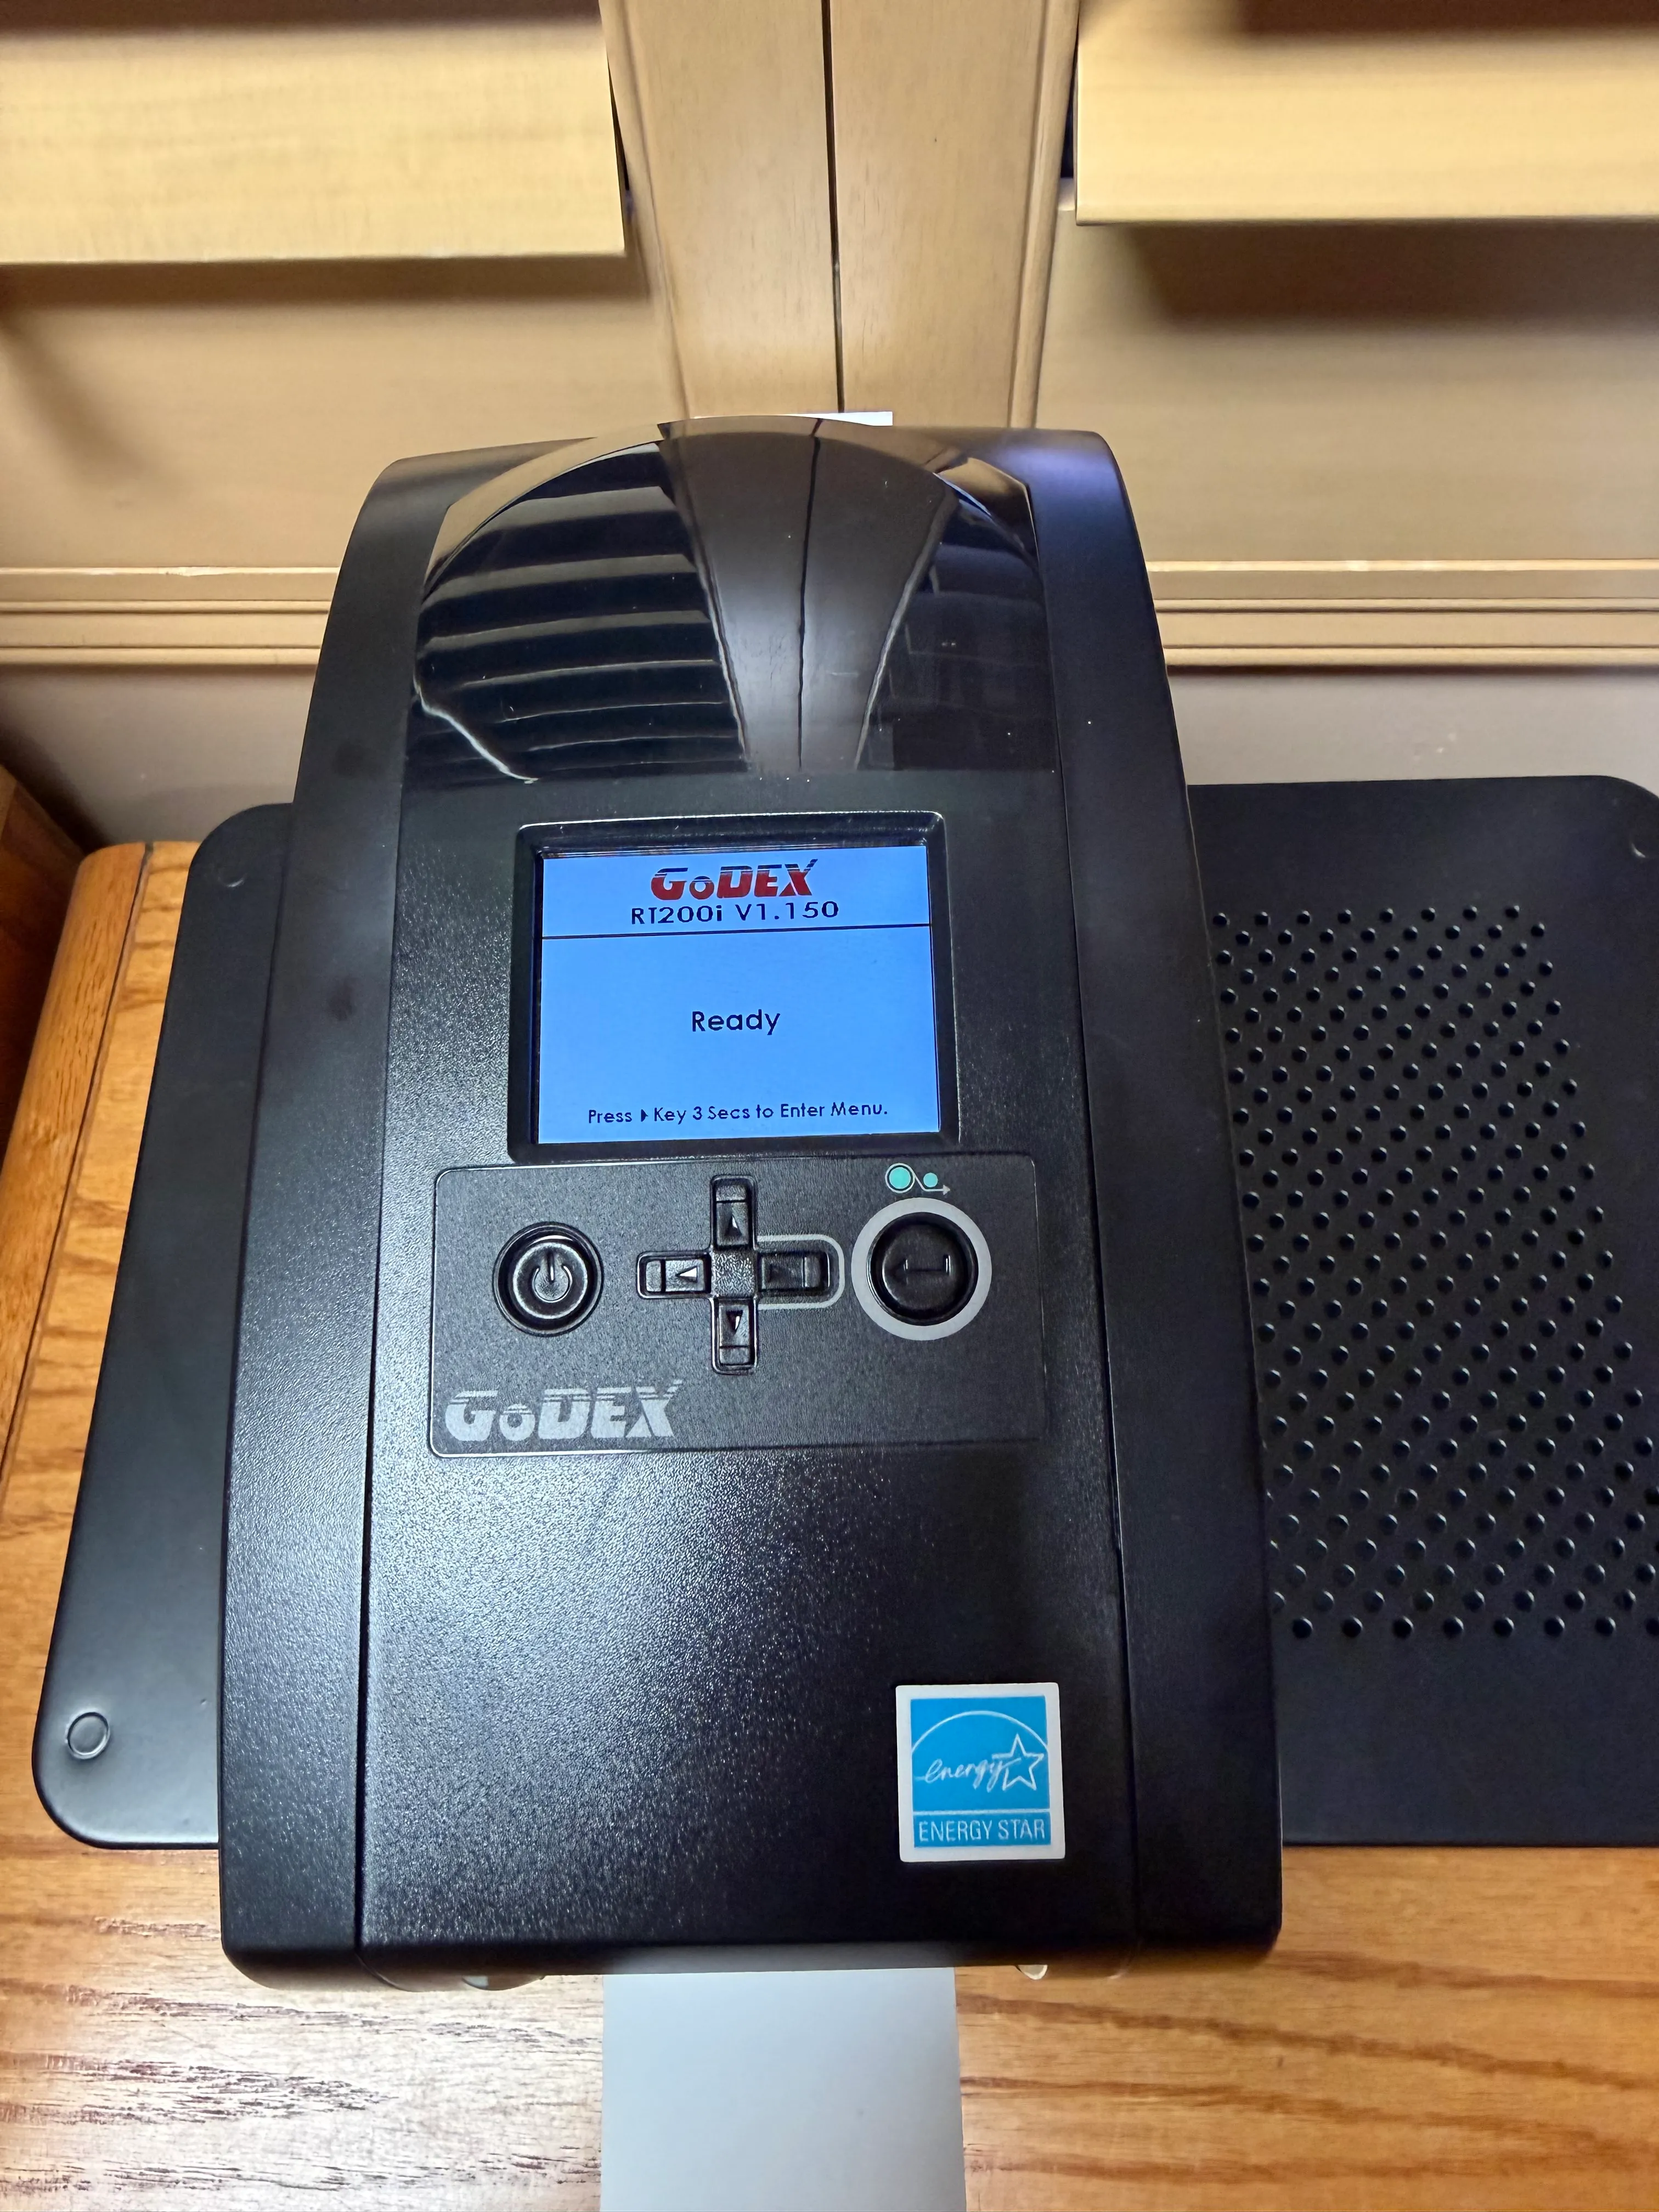
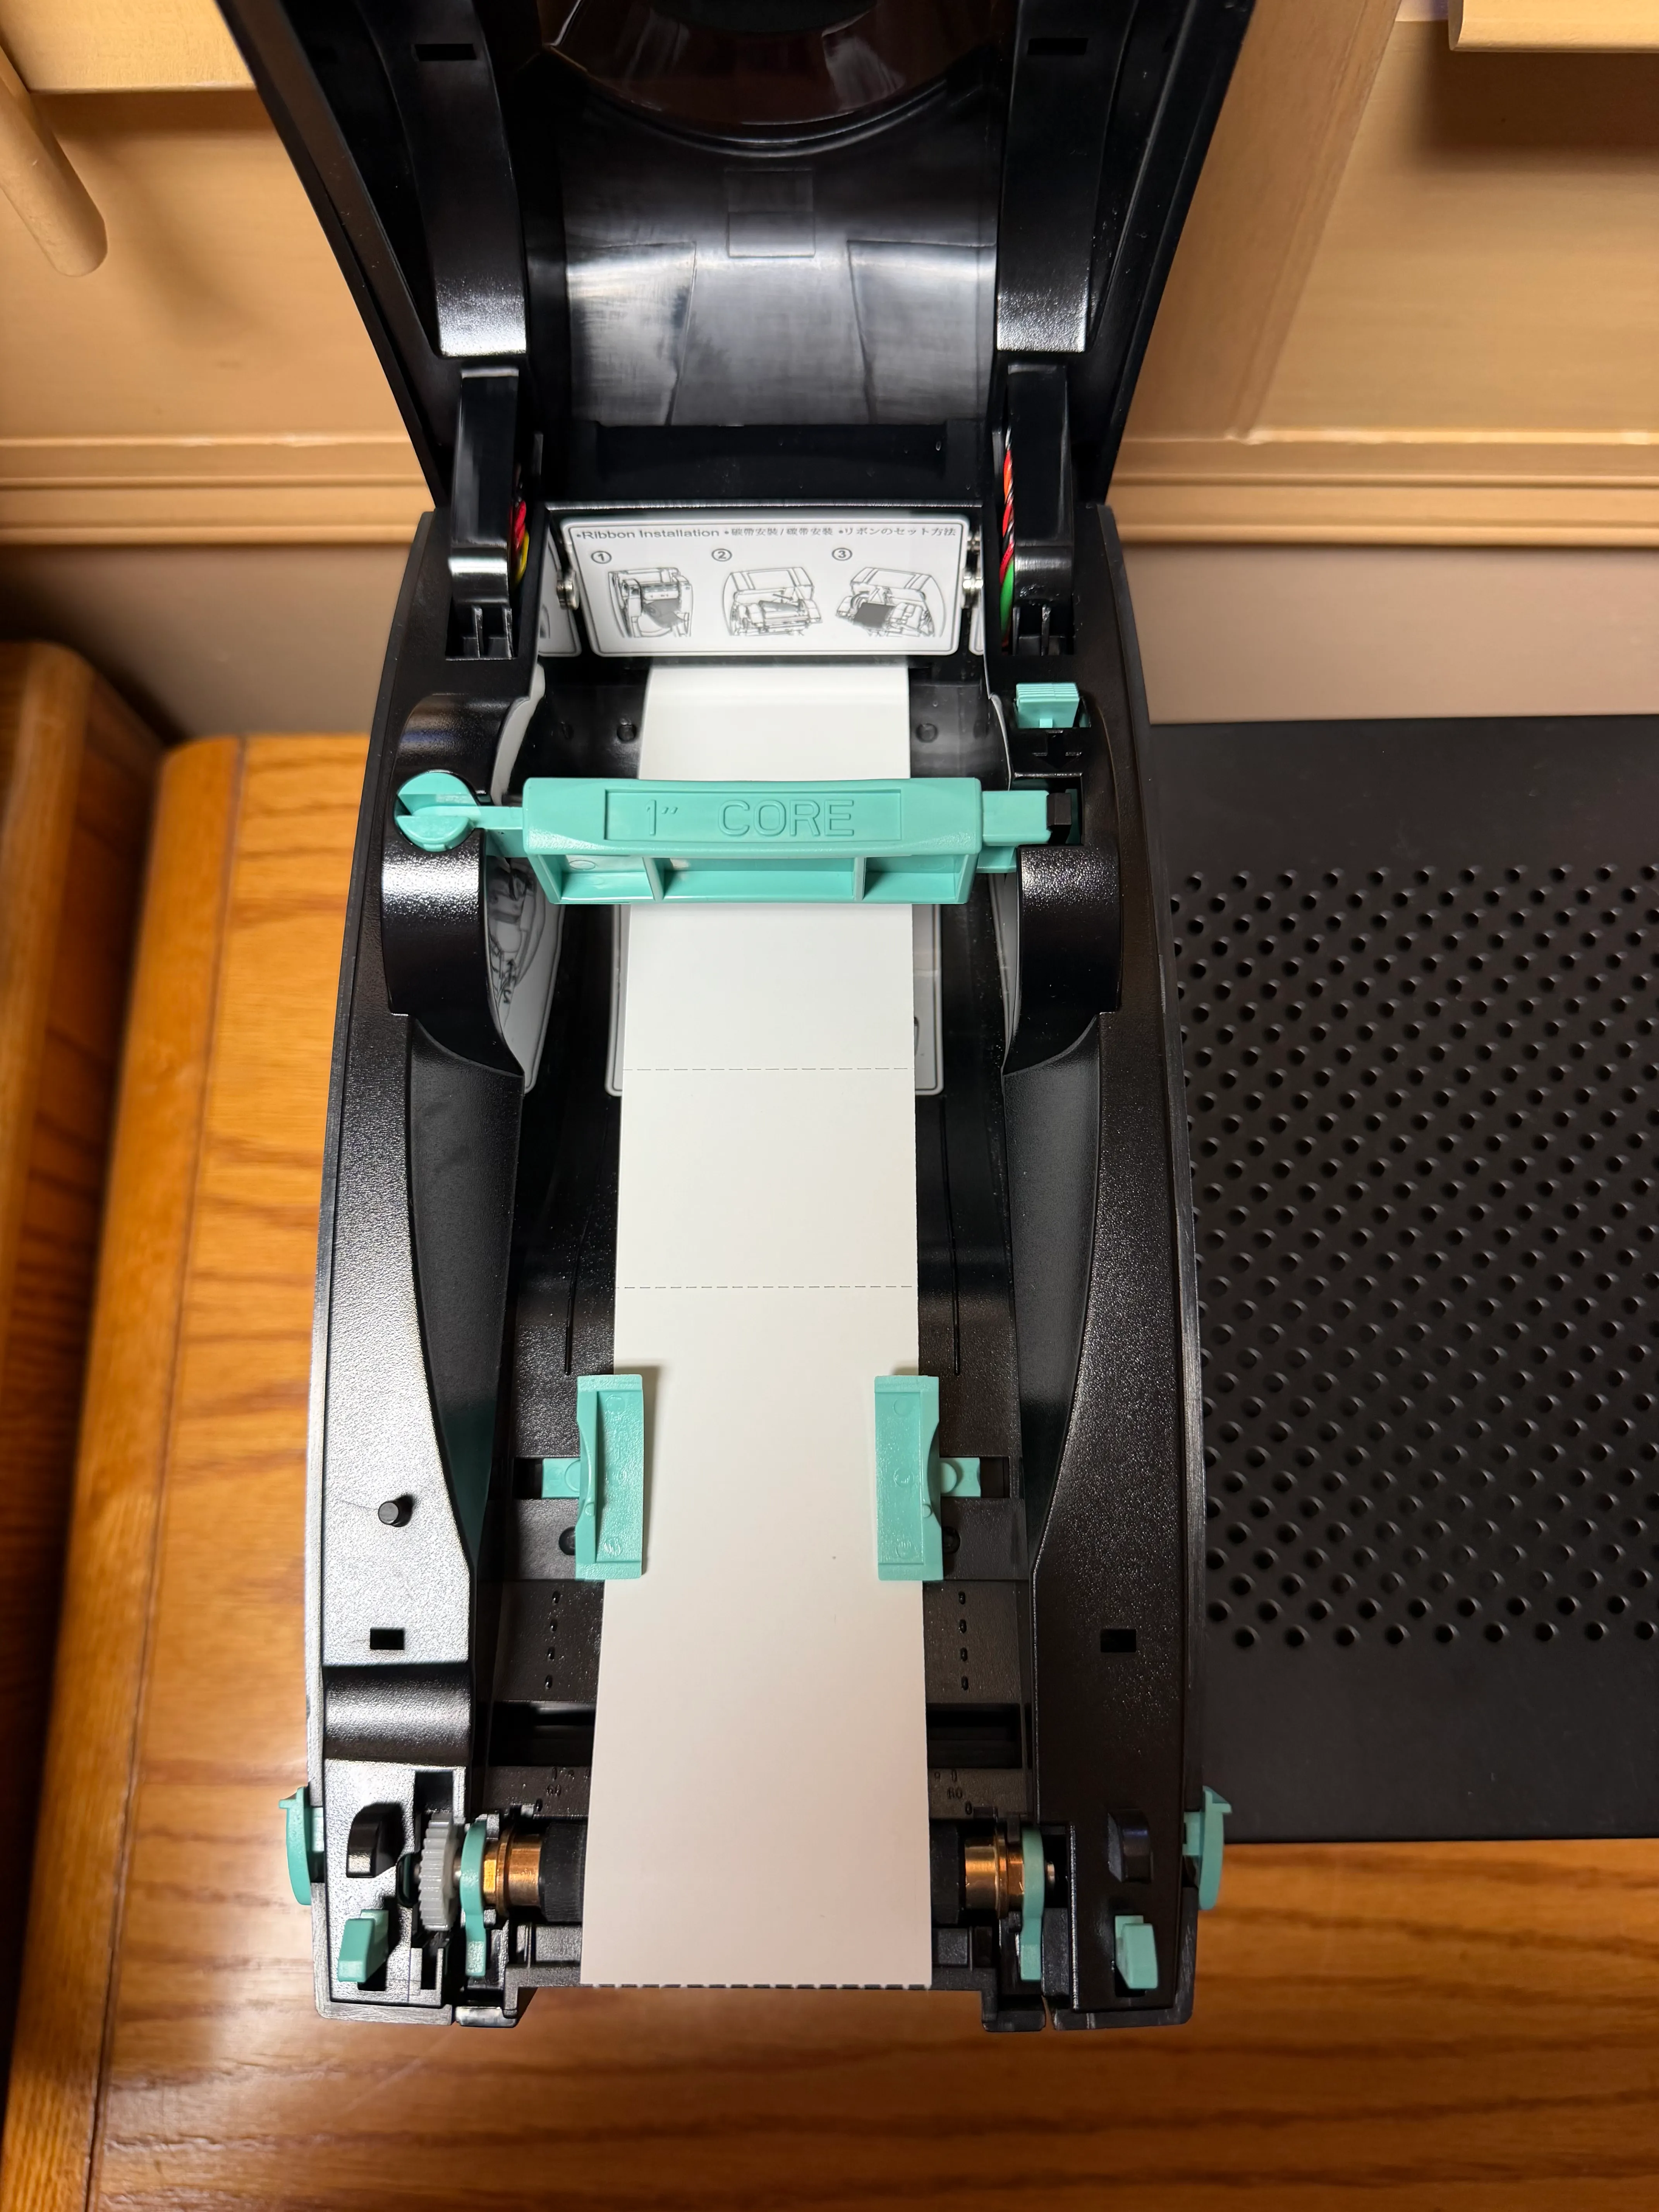
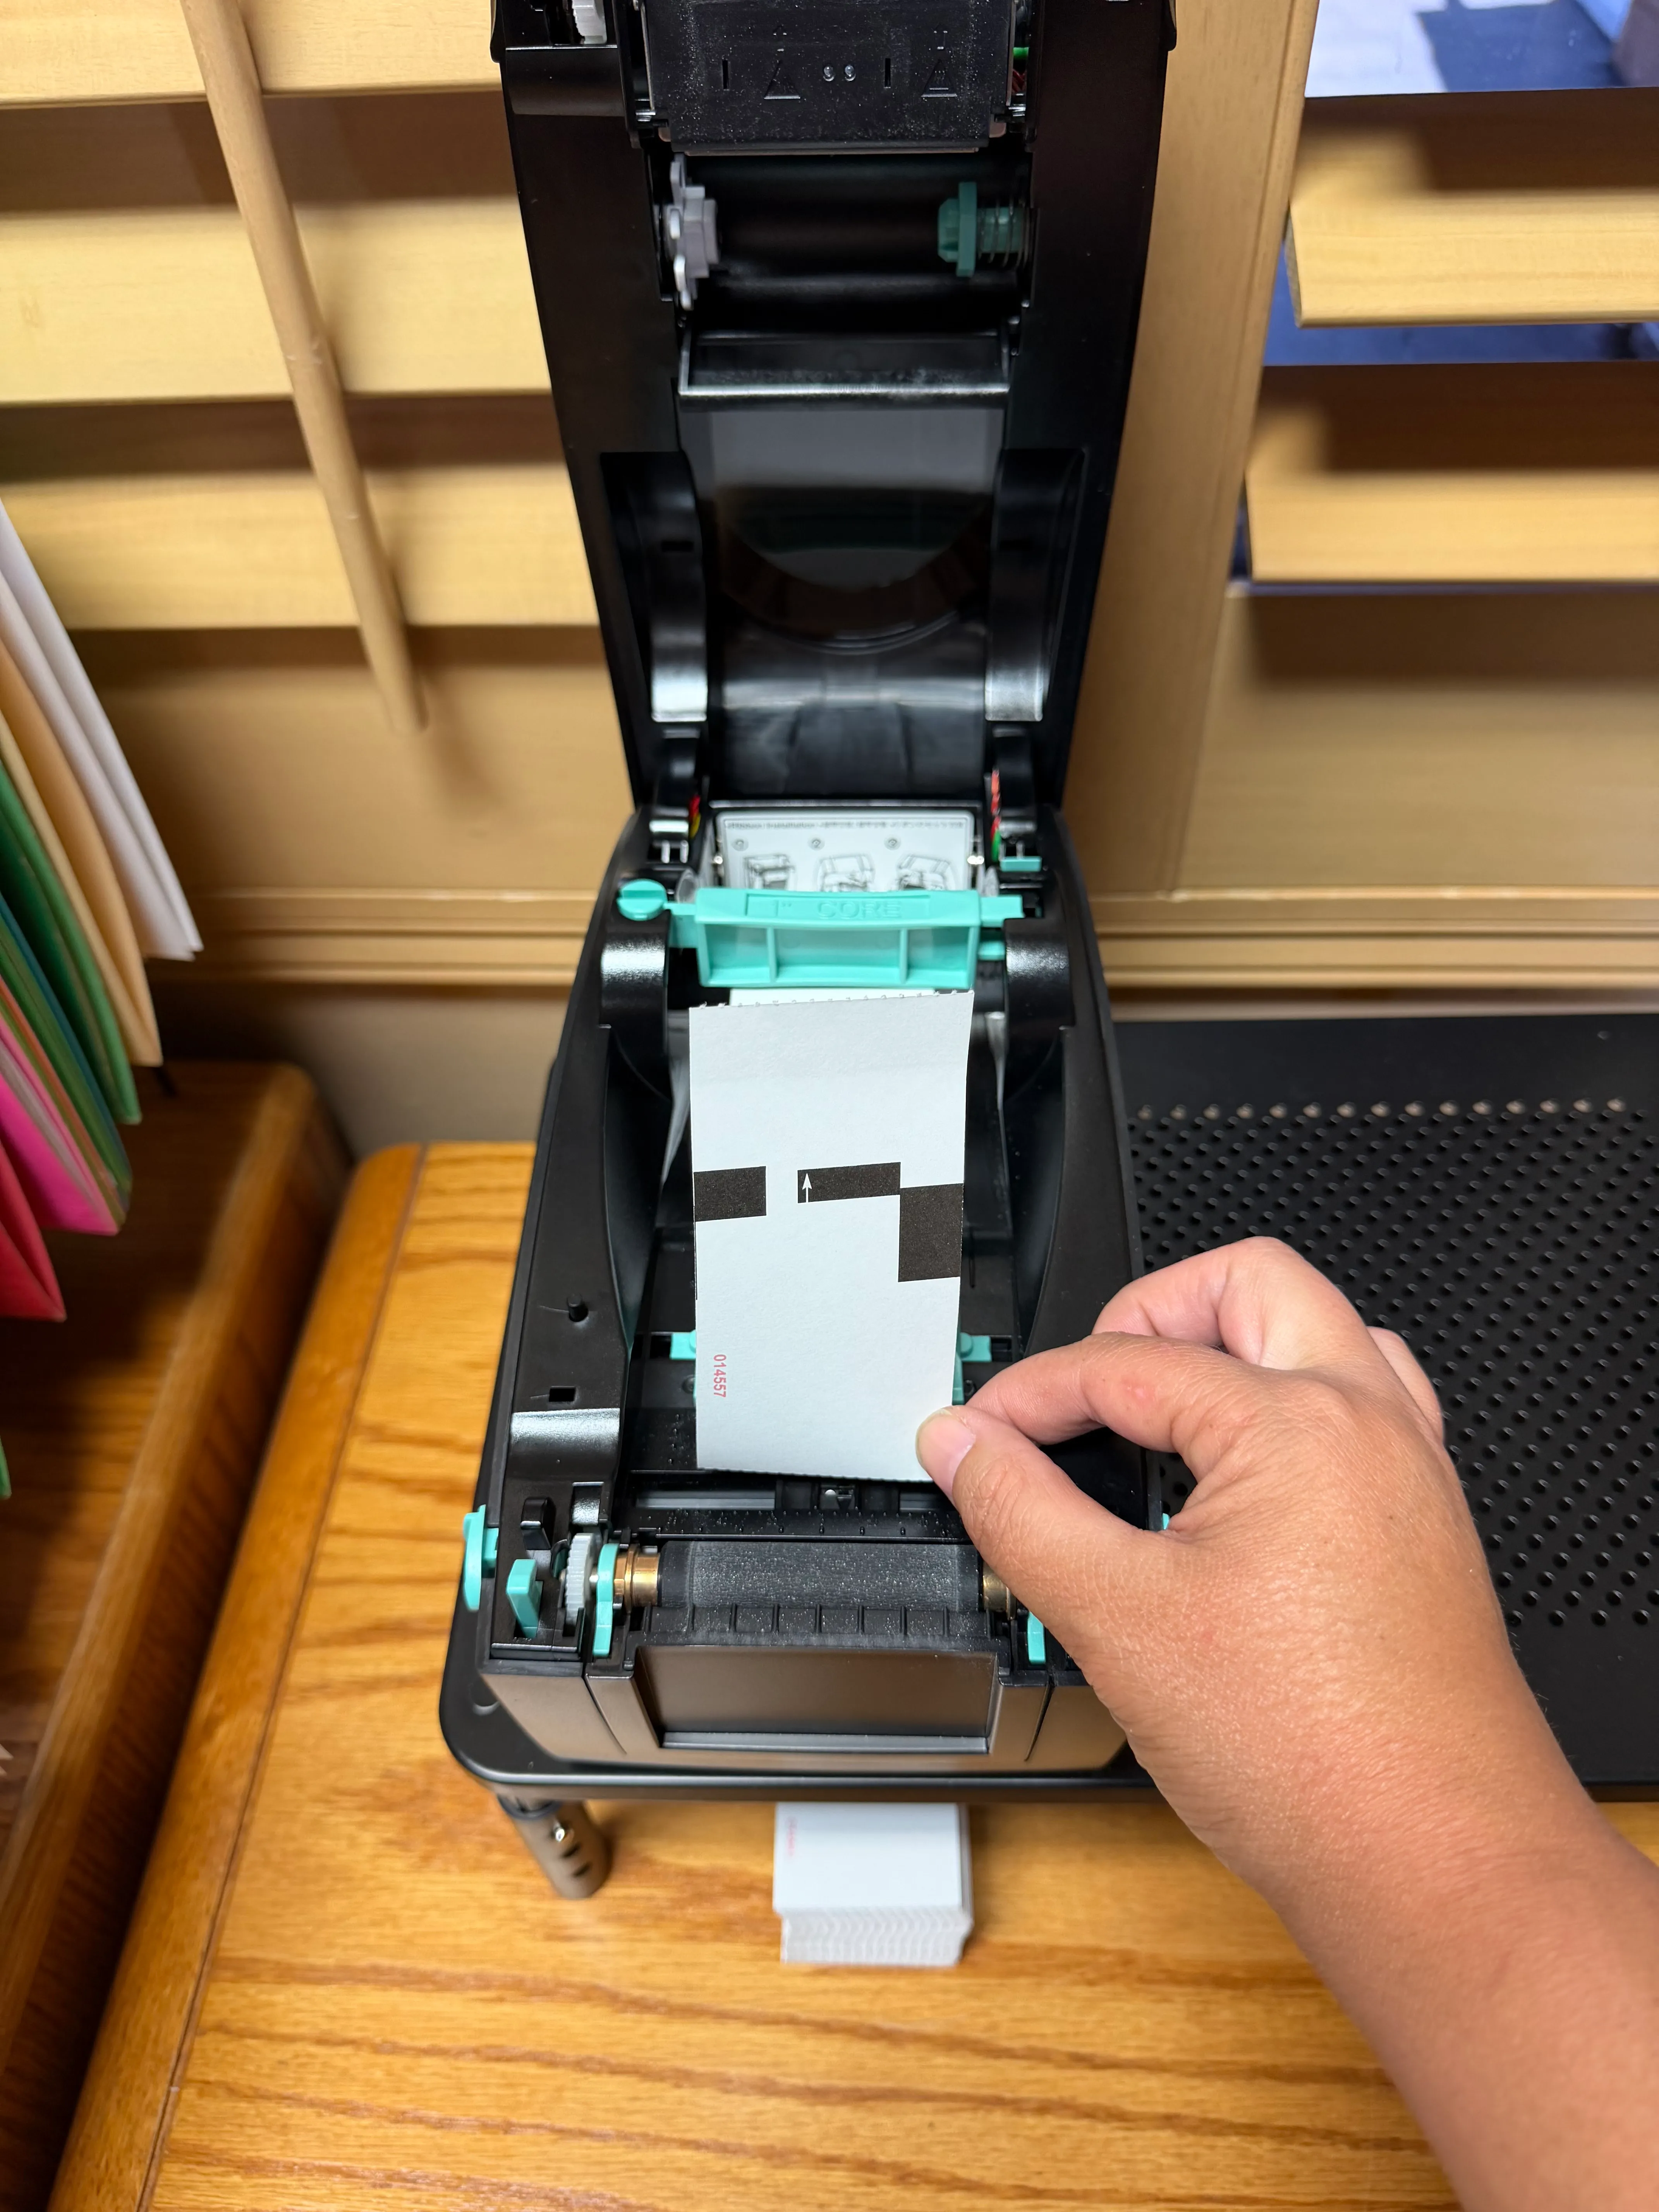
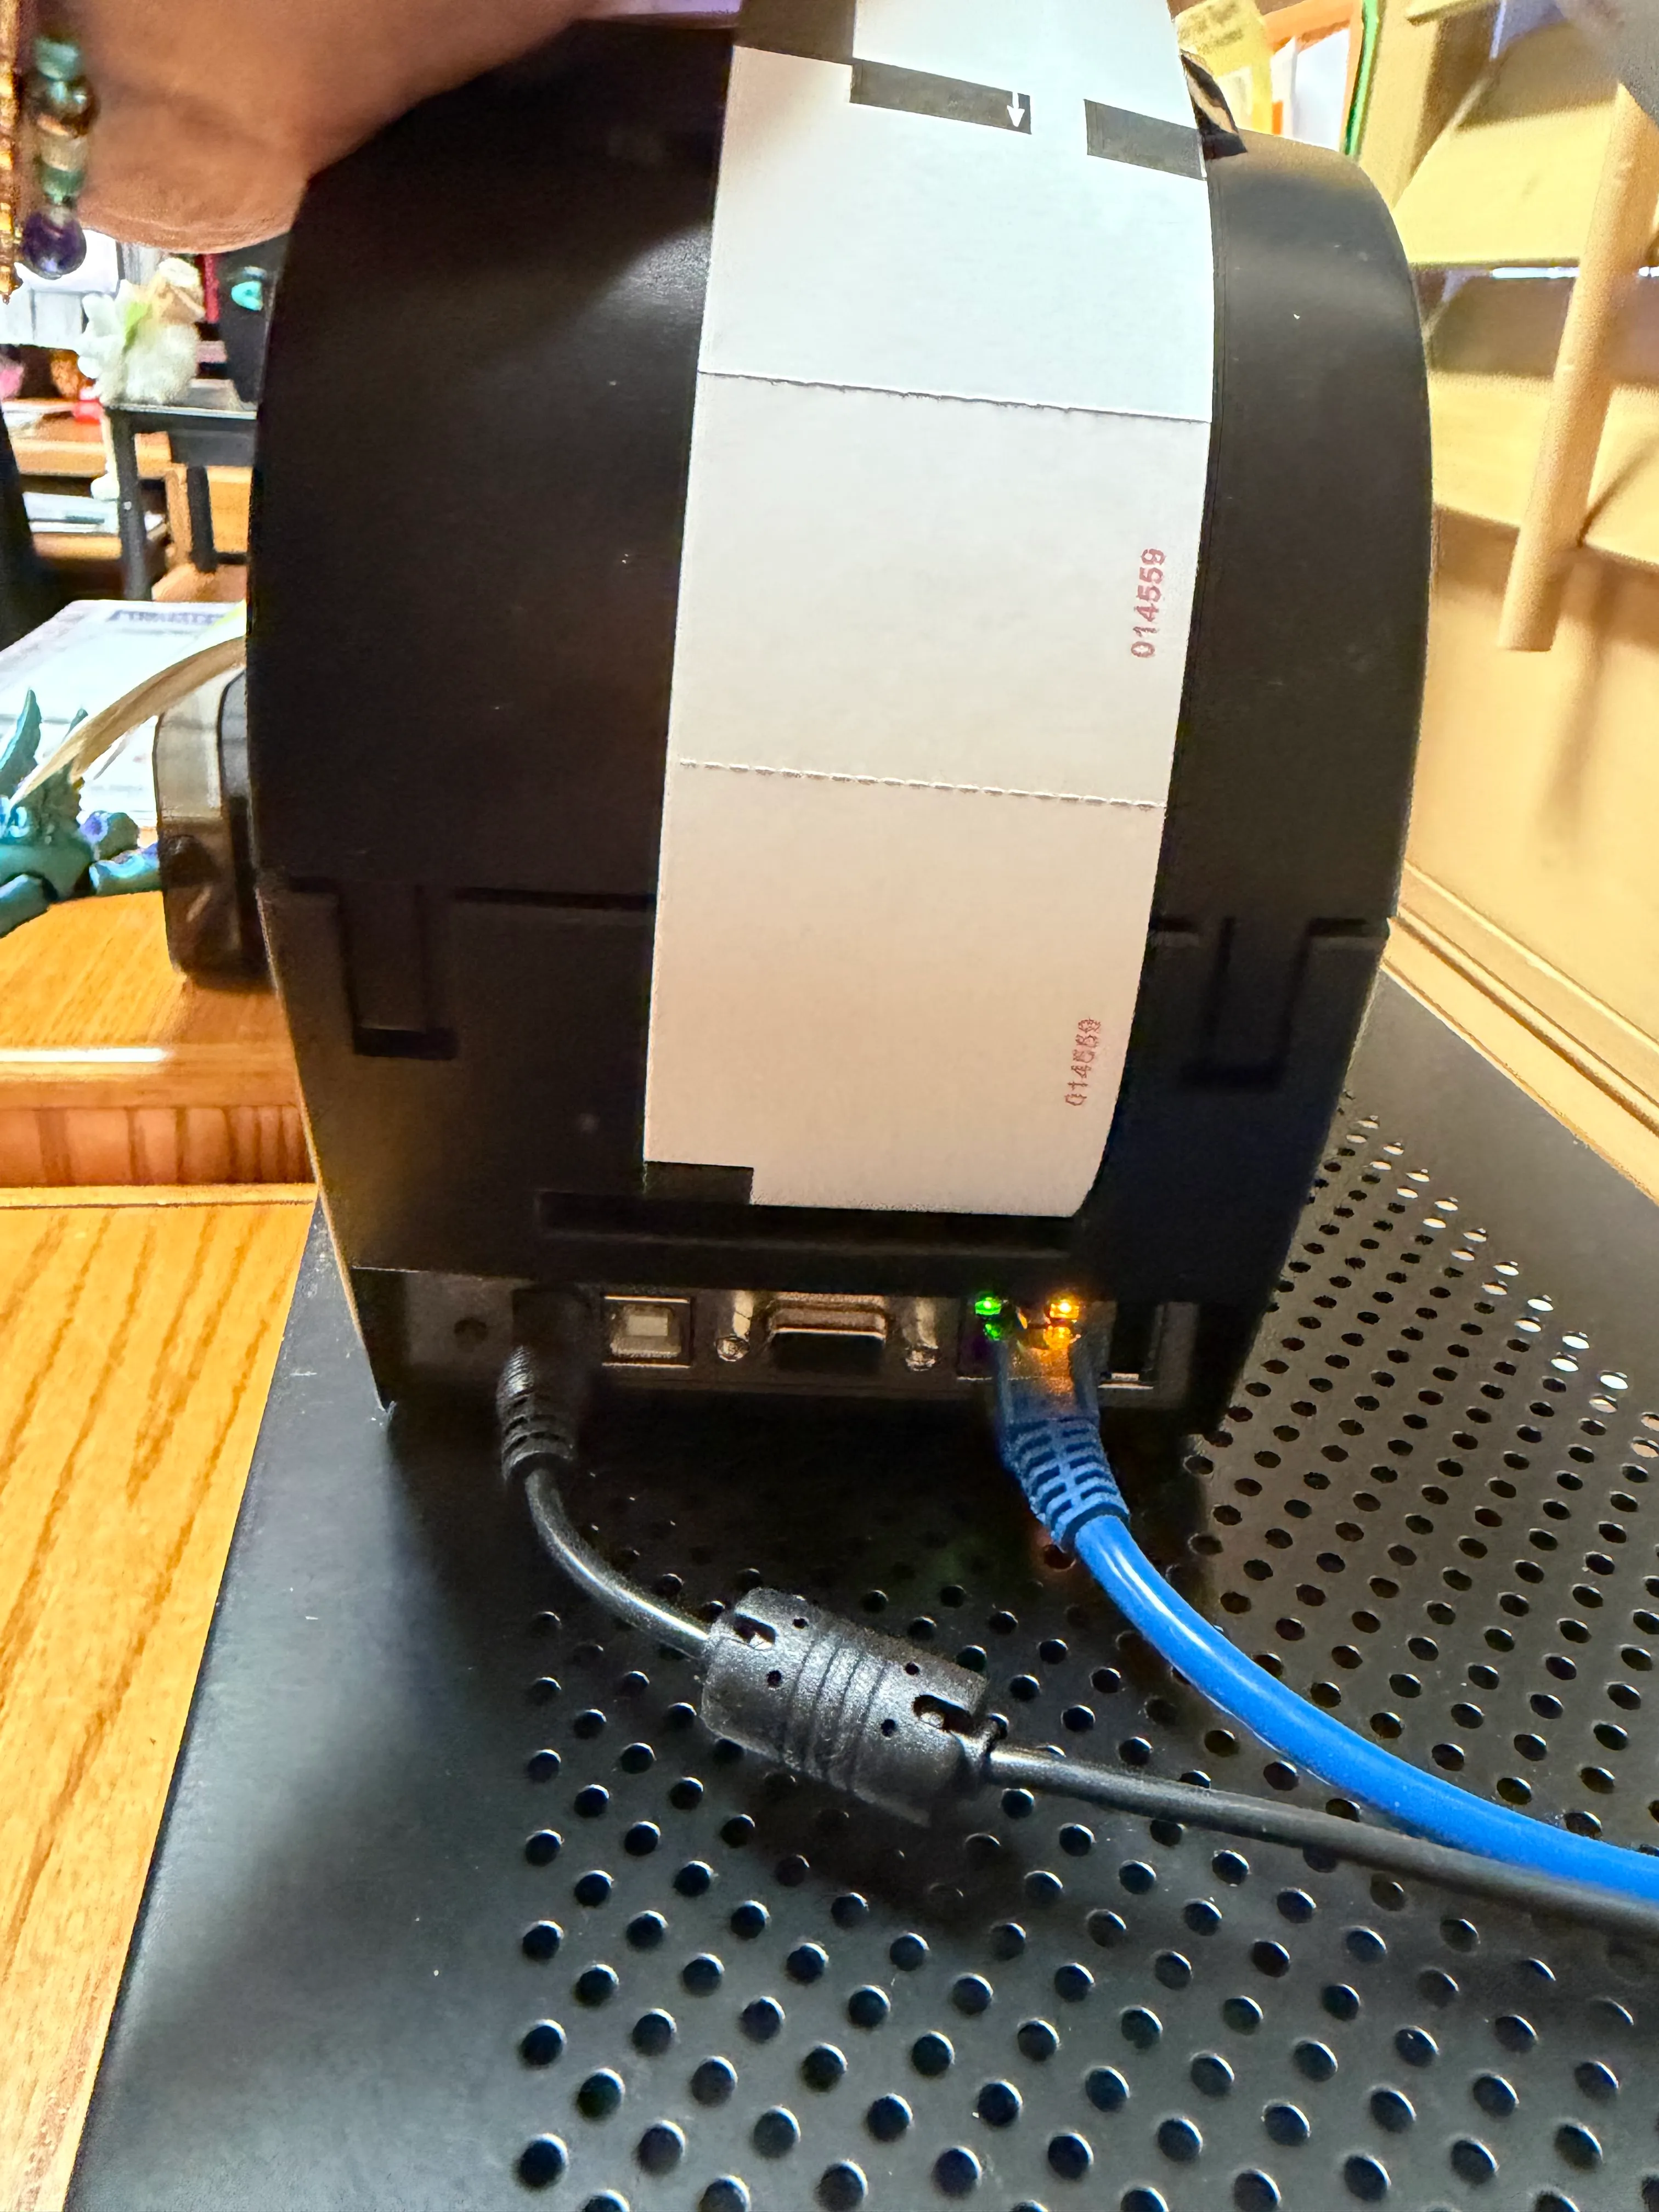
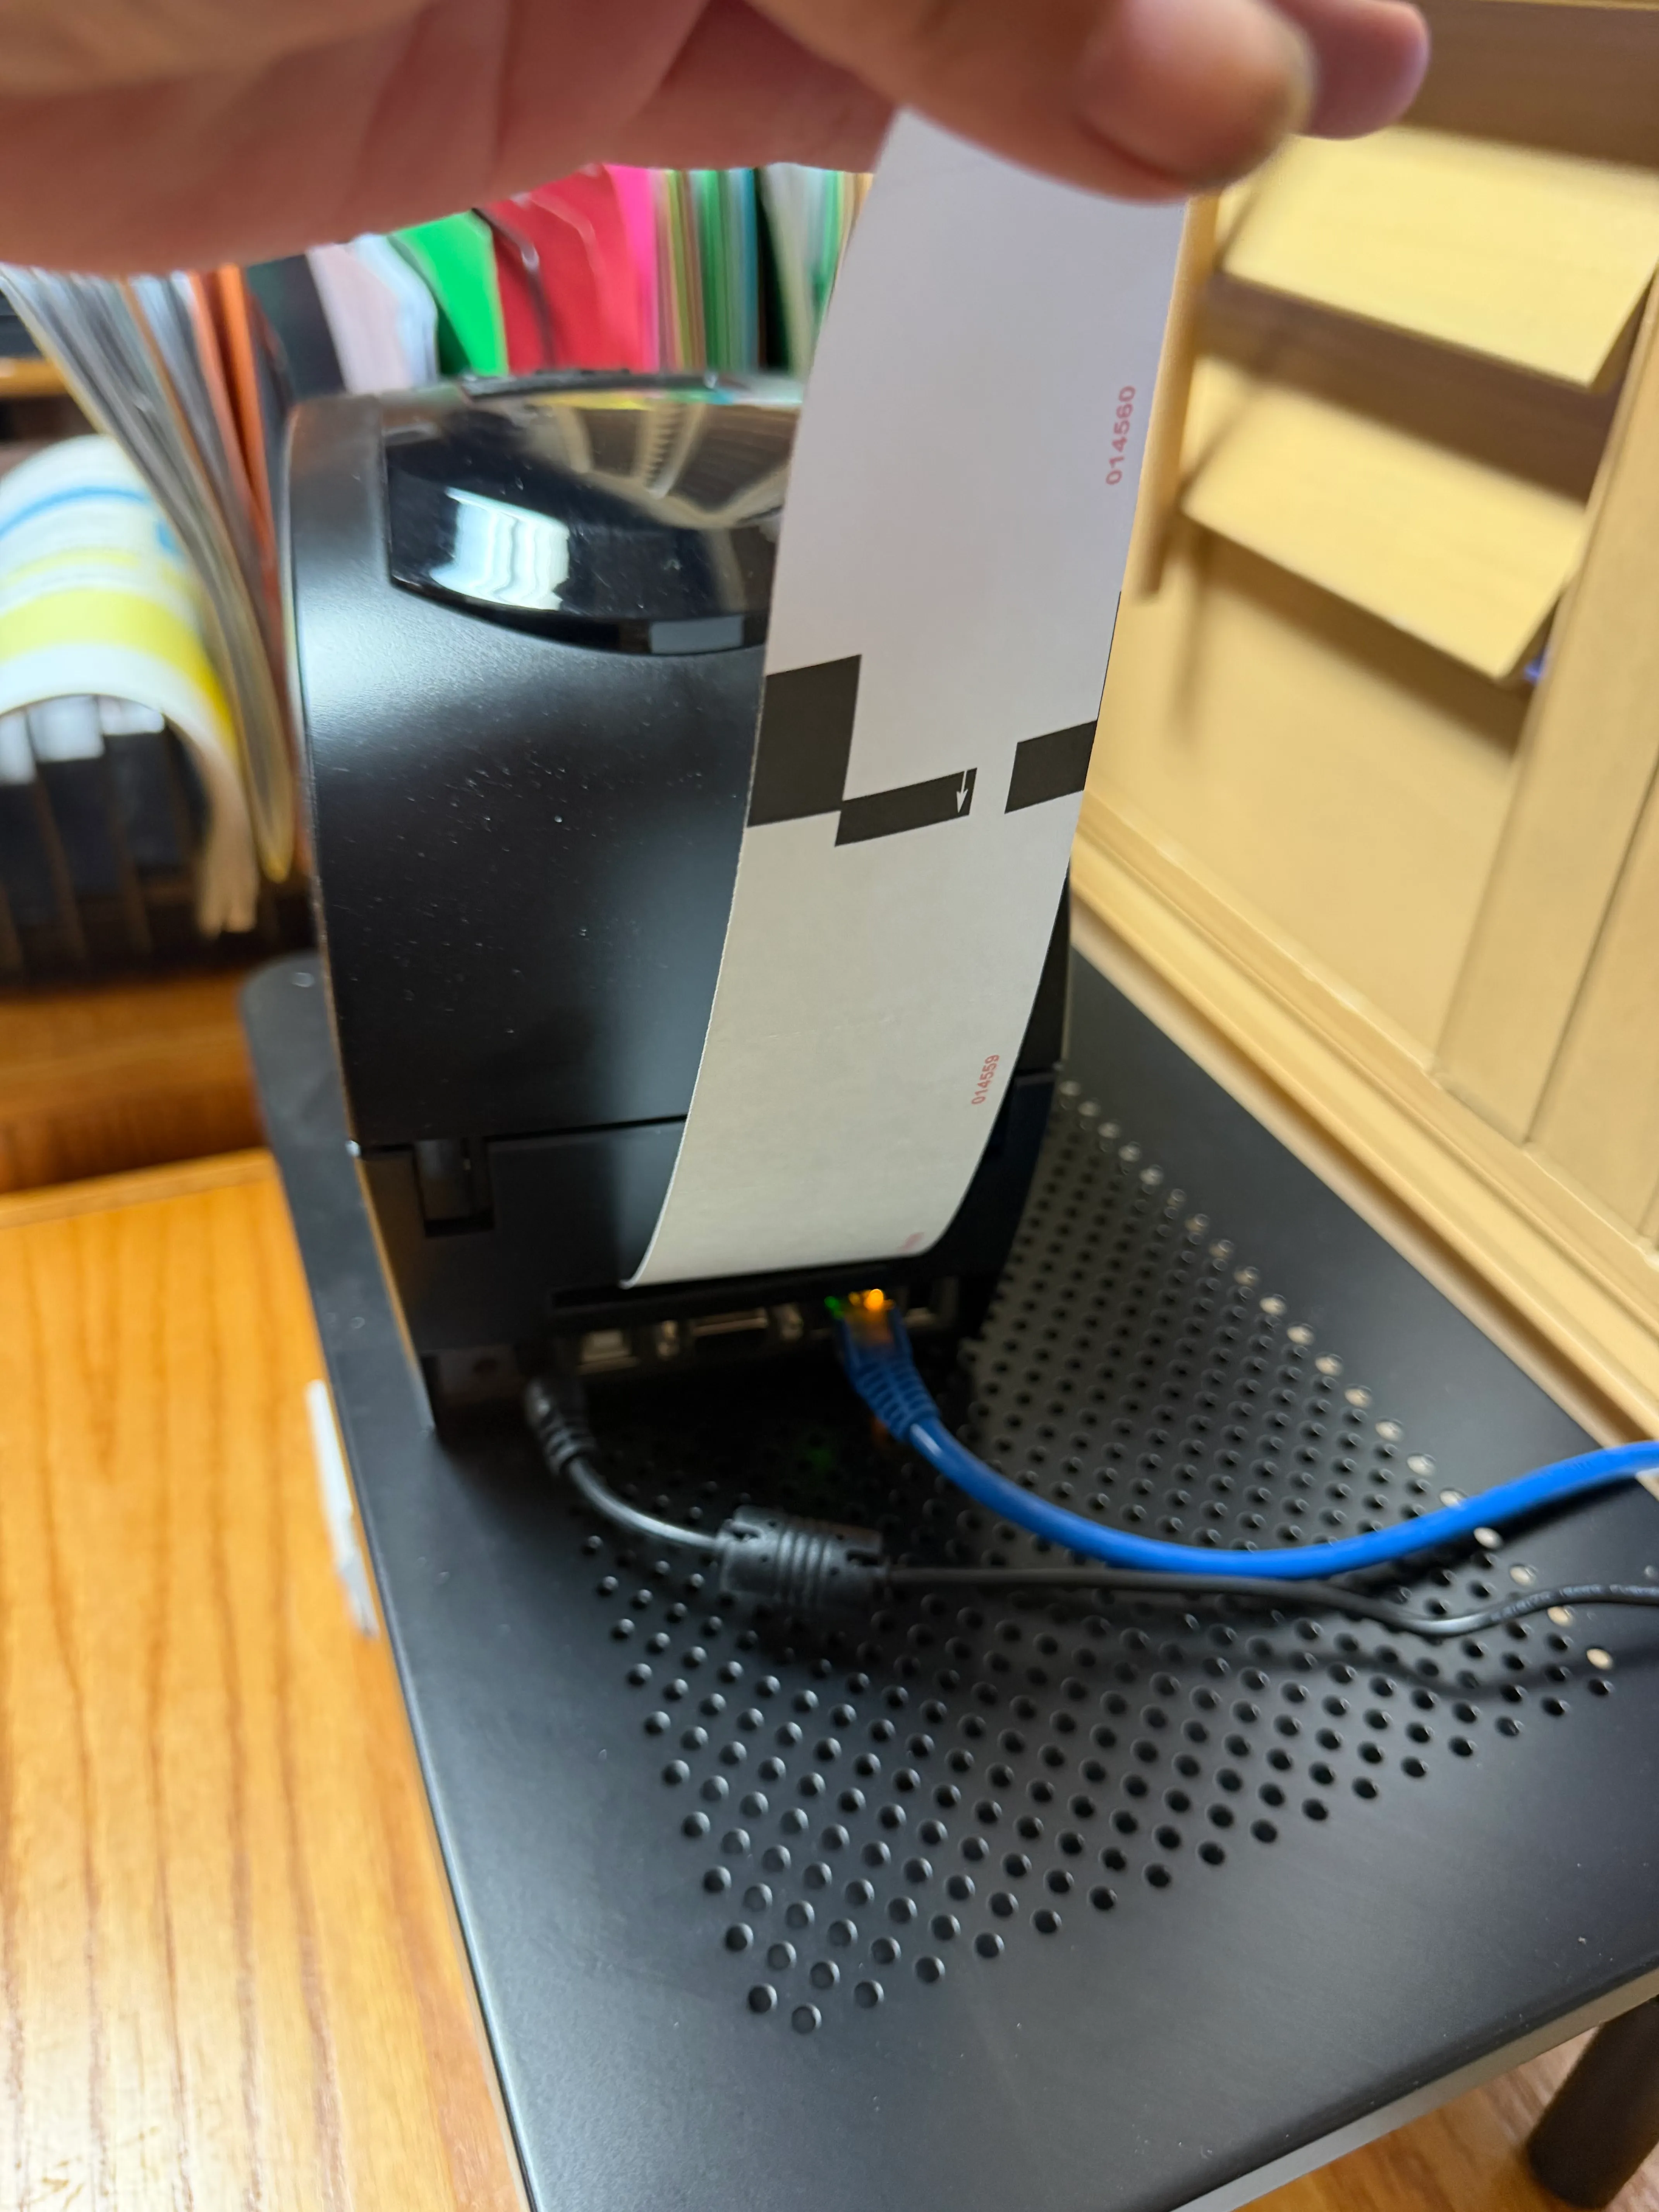
You can load your ticket stock and go into TixPro8 and print a ticket to make sure it works - we suggest printing a single ticket sale and a sale with two or more tickets.
If you prefer you can call us and we will install/help!
-